

 By iCarsoft Official Store Technical Team, Automotive Diagnostics Editors · Updated October 8, 2026 · Technical sources checked
Quick Answer
C0042 points to a brake-pedal position fault family, but its exact meaning depends on the complete OEM code. Check the pedal resting position, sensor installation and identified circuit before replacing a sensor. Calibration is appropriate only when the applicable procedure requires it and the underlying mechanical and electrical conditions have been verified.
What Does the C0042 Code Mean?
The selected SAE table in NHTSA DOT HS 812 575 lists C0042 as Brake Pedal Position Sensor Circuit A with a subfault. However, FCA STAR S2008000192 calls C0042-28 a sensor B bias/zero-adjustment fault. These descriptions cannot be treated as interchangeable. Use the complete fault and current VIN-specific service information to identify the actual channel. The full fault record determines the test branch.
Pedal position is a measurement of input travel or position as interpreted by the controller. It is not a direct measurement of hydraulic brake pressure. A sensor assembly can provide more than one channel, and the controller may compare them under defined conditions. Do not assume that A and B use identical ranges, opposite slopes, separate housings or a universal zero value.
A useful baseline separates actual pedal rest from the controller reference. Record the complaint, supported position data and installation condition before resetting anything. A relearn can change the reference without repairing an obstruction, loose bracket or poor terminal. If the fault followed recent work, establish exactly which parts were disturbed; timing alone does not prove the installer or sensor caused the problem.
FCA GPOP 9003530, dated June 7, 2017, covers specified MY2015–2017 DS/WD/WK and MY2016–2017 D2/DJ applications. For its C0042/P0572 or brake-lamp/cruise complaints, it directs checking pedal home and actual resting position with wiTech in the ABS data. This is a dated application example, not a universal repair instruction or proof that every C0042 needs a new sensor.
FCA STAR S2008000192 describes C0042-28 with P057B. It identifies sensor seating, bracket retention and connector security, followed by the applicable scan-tool calibration under PCM. The record documents a previous case rather than a guaranteed repair. Its sensor-B description also shows why a generic circuit-A decoder cannot select the channel. Confirm applicability and current instructions before using any procedure.
Separate C0042 from adjacent fault families
| Code | General description | Key distinction |
|---|---|---|
| C0042 | Generic pedal-position circuit A label | FCA C0042-28 has different channel wording; use full OEM description. |
| C0043 | Pedal-position circuit B label | Do not infer equal ranges or two housings. |
| P057B | Pedal-position sensor A performance | Companion in the cited FCA case, not required on every vehicle. |
| C0041 | Brake-pedal switch B label | Discrete switch information is not a pressure or travel measurement. |
Record the complete C0042 description. Use the exact module, suffix and OEM procedure to select the test path.
C0042 Symptoms and Likely Causes
Record C0042 symptoms and fault status; symptoms alone cannot identify a failed part.
Check whether companion faults share a proven cause.
An applicable vehicle may show engine, stability or brake-related warnings. The FCA example includes C0042-28 and P057B together. Record all actual modules and suffixes rather than assuming that combination applies to every vehicle.
The dated FCA technical tip includes this complaint on specified applications. Check physical pedal return and the actual signal path. A lamp observation alone does not distinguish installation, sensor, wiring or controller logic.
Cruise behavior can provide context where brake-input logic is involved. It is not a guaranteed symptom or a substitute for the complete diagnosis. Never bypass the brake input to restore cruise operation.
A sensor that is not correctly seated or a disturbed connector deserves inspection. Record the original mounting condition and applicable installation sequence before adjustment; do not erase the evidence with an immediate relearn.
Practical cause-checking order
- Incorrect mechanical reference: Check that the pedal returns to its specified resting condition and that no accessible interference is present. Follow the correct mechanical inspection; do not alter brake linkage dimensions to force a desired scan percentage.
- Sensor seating or bracket: Inspect sensor seating and retention using the actual assembly instructions. A loose or misplaced sensor can change the relationship between pedal movement and the reported value. Do not apply another model’s clip, gap or adjustment method.
- Connector and identified circuit: Check the actual source, return and signal paths identified by the VIN diagram. Inspect terminals and harness support, then follow the specified electrical tests. No universal supply voltage or connector pinout is established by the base code.
- Position-sensor performance: Compare sensor response with the manufacturer criteria only after the external paths and mechanical position are sound. Look for the documented repeatability or correlation failure. A generic error label alone is insufficient evidence for replacement.
- Required setup or interpretation: Determine whether the correct installation requires a calibration or initialization routine. Verify prerequisites and controller selection. A missing generic scan-tool menu is a coverage question, not evidence that the vehicle needs a replacement module.
Did C0042 appear after recent pedal-sensor installation, interior work or brake-control service? Recheck the documented connections, parts and setup steps affected by that work. Record battery and software history; a post-repair code does not prove the new part is defective.
How Serious Is C0042, and Can You Drive?
Follow the owner manual and actual brake warnings. Stop safely for abnormal braking, fluid loss, dragging or a red brake warning. The code cannot establish safe mileage.
Record brake warnings, pedal changes, fluid loss and recent service. Do not induce wheel slip or emergency braking to test assistance on public roads; warning-state assessment comes before any functional verification.
Stop and arrange a tow if braking changes, pedal effort or travel is abnormal, a wheel drags, fluid leaks or a red brake warning appears.
Follow the exact shutdown and pressure-release procedure before accessing brake components. Support a raised vehicle securely, keep clear of moving parts and never energize unidentified circuits. Do not perform public-road emergency-stop experiments.
How to Diagnose C0042 in the Right Order
-
Save the complete code and companion evidence
Save C0042, every suffix, storing module, status and available event data before clearing. Record warning lamps, pedal behavior, brake-lamp complaints and recent work. Preserve companion codes such as P057B when actually present. Assess physical brake safety first; an abnormal pedal, fluid loss, dragging or red brake warning calls for safe recovery instead of a diagnostic road test.
-
Resolve the OEM channel description
Obtain the current procedure for the exact VIN and complete code. Reconcile any difference between the generic circuit-A label and the manufacturer wording. Identify the actual channel, assembly, receiving module and expected relationship to other pedal inputs. Do not select a terminal, sensor housing or calibration menu from the base code alone. Document unresolved definition differences before further testing.
-
Inspect pedal rest and sensor retention
Secure the vehicle and inspect the prescribed pedal resting condition, accessible interference, mounting bracket, sensor seating and connector retention. Keep a baseline record before removal. Follow the correct installation sequence; do not bend brackets or change linkage adjustment by trial and error. A visual resemblance to the FCA case does not establish that its repair or calibration procedure applies.
-
Correlate supported position data
Observe the specified channels with controlled pedal movement under the required conditions. Record PID units and module names, and compare the actual response with the documented criteria. A position reading does not measure hydraulic pressure or stopping performance. Respect scan sampling limits and confirm tool coverage if a channel is absent. Do not create artificial input states by bridging unidentified terminals.
-
Isolate the electrical or sensor fault
Use the VIN diagram and OEM fault tree to test relevant power, return and signal paths. Keep the stated connector and ignition conditions and use appropriate probes. Separate a circuit defect, installation error and repeatable sensor failure before selecting parts. Never apply battery voltage to an unidentified sensor input or borrow resistance limits from a different sensor design.
-
Perform required setup and verify the repair
Repair the demonstrated defect, then perform any required calibration in the specified controller. Record routine completion and repeat the failed test, pedal-return check and relevant lamp or interlock checks. Save the final scan after the prescribed verification. A cleared code or successful relearn is not proof of safe braking, and intermittent conditions that were not reproduced require a stated follow-up limitation.
Specifications are vehicle-specific. Use the exact VIN specifications, approved test points and required operating state. No generic value or drive cycle can replace the applicable procedure. Manufacturer examples here do not establish specifications for other applications.
C0042 Repairs and Cost Planning
A C0042 repair must address the demonstrated failure. Do not replace an assembly from the code alone.
Recheck installation and required setup after repair. Preserve channel names, units and controller identity when recording live data. A percentage, voltage or learned-position value is meaningful only with the correct PID definition and operating conditions. Do not compare differently scaled readings as if they were identical. If a tool lacks the requested channel, verify coverage instead of concluding that the vehicle lacks a sensor or that the controller has failed.
Ask the shop to name the failed branch and the measurement supporting each proposed repair.
Authorize diagnosis before parts while the cause remains uncertain.
| Possible path | Quote basis |
|---|---|
| Restore the verified pedal reference or sensor mounting condition | VIN-specific quote |
| Repair the identified connector, source, return or signal path | VIN-specific quote |
| Replace only the component proven faulty by the OEM test | VIN-specific quote |
| Complete applicable calibration and repeat functional verification | VIN-specific quote |
Request an itemized, VIN-specific quote for the proven repair, setup and verification. Check applicable warranty coverage.
Using iCarsoft CR Max P for C0042
On a supported vehicle, iCarsoft CR Max P can save accessible faults, available freeze frame, live data and diagnostic reports. Preserve the C0042 evidence before clearing.
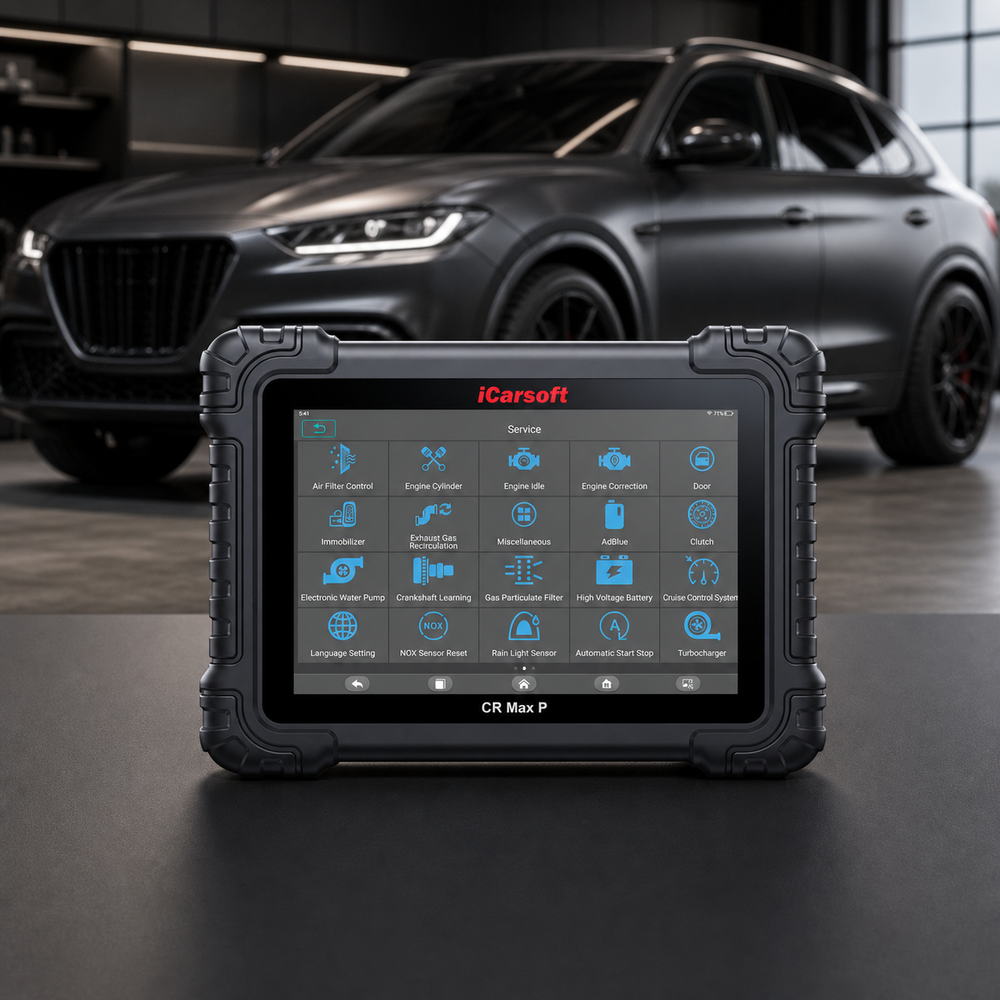
Preserve the brake-pedal position input evidence
iCarsoft CR Max P
Review supported codes and relevant live data together. Confirm the exact VIN, controller access, PIDs and any requested active test with iCarsoft before purchase; generic product capabilities do not guarantee a C0042-specific function.
Check current CR Max P price and availabilityCheck CR Max P compatibility by VINConfirm the exact VIN, controller, requested function and software with iCarsoft before purchase. Follow OEM testing prerequisites.
Know the measurement boundary. Scan data describes ECU-provided information; it does not directly prove the physical condition of the brake-pedal position input. Use the prescribed independent measurements when required.
Verify the C0042 Repair
After repair, verify connectors, harness clearance, setup and controller supply. Save post-repair findings, then clear only erasable records through the approved procedure. Battery disconnection is not a repair.
Run the manufacturer's applicable verification conditions in a safe workshop or route. Compare the original operating state with current data for the brake-pedal position input, and check current and pending faults in related modules. One clean start or idle period does not prove that every conditional monitor has completed.
If C0042 returns, compare its suffix, status, failure order and operating conditions with the saved baseline before replacing another part. Revisit the failed branch and inspect anything disturbed. Confirm the prescribed brake-system verification separately from code clearing.
Stored and Active brake-control faults require different decisions. Preserve the original record and follow the OEM confirmation procedure. A cleared display does not prove restored assistance or safe braking.
Related Brake-Pedal Position Input Code Guides
Use each related code's own diagnostic procedure.
C0042 Frequently Asked Questions
Why can C0042 refer to A in one source and B in another?
The selected generic table lists circuit A, while the cited FCA C0042-28 record describes sensor B bias/zero adjustment. Preserve the suffix and manufacturer description. Use current VIN-specific information to identify the channel; do not combine the labels into a universal wiring or replacement instruction.
What should I check first for C0042?
Preserve the complete module record and available event data. Confirm the full OEM description, actual architecture and recent work before selecting the required electrical or physical test.
Can I drive with the C0042 code?
Arrange prompt brake diagnosis and follow the owner manual. Do not assume ABS or stability assistance remains available. Abnormal pedal effort, pulling, fluid loss, dragging or a red brake warning requires stopping safely and arranging recovery. The code cannot establish a safe driving distance.
Why did C0042 return after a part was replaced?
Calibration must follow current OEM prerequisites after mechanical and electrical checks. Record the routine and repeat the failed test. A completion message does not establish proper pedal return, lamp operation or safe braking; document any functions that remain unverified.
What should a C0042 repair estimate include?
Request failed-test evidence and itemized diagnosis, parts, labor, setup and verification costs. The code cannot determine the price.
Can CR Max P diagnose and clear C0042?
On a supported vehicle, CR Max P can organize available faults, freeze frame, live data and reports, and can clear erasable records after repair. Confirm exact ECU coverage. It cannot establish safe braking from an erase command or replace physical measurements for the brake-pedal position input.
The iCarsoft Official Store Technical Team maintains the store's fault-code library. This guide organizes published technical references and verified product information; it does not document a hands-on test of a particular vehicle or claim an individual engineer's review.
Technical and cost references
- NHTSA DOT HS 812 575 — Functional Safety Assessment of a Generic Electric Power Steering System. August 2018; Appendix L Table L-2 supplies the selected C0042 circuit-A label, not VIN-specific wiring or calibration instructions.
- FCA GPOP 9003530 — Brake Pedal Sensor. June 7, 2017; specified MY2015–2017 applications. Pedal home/resting-position checks are application-limited.
- FCA STAR S2008000192 — C0042-28 and P057B. December 3, 2020; sensor-B bias/zero-adjustment case, mounting and setup guidance; not a universal repair conclusion.
Product information: Official iCarsoft CR Max P page.
Editorial note: Diagnostic education does not replace the owner manual, current VIN-specific service information or professional inspection. Procedures, coverage and costs vary. Related guides provide context, not interchangeable repair instructions. No universal failure rate, price or outcome is implied.


